Table of Contents
- Introduction
- What Are Veneer Panels?
- Tools and Materials Required
- Step 1: Surface Preparation
- Step 2: Measuring and Cutting the Veneer
- Step 3: Applying Adhesive Correctly
- Step 4: Fixing the Veneer Panels in Place
- Step 5: Finishing and Polishing Touches
- Buy Premium Veneer Panels in Lucknow at Goel Worl
- Conclusion
1. Introduction
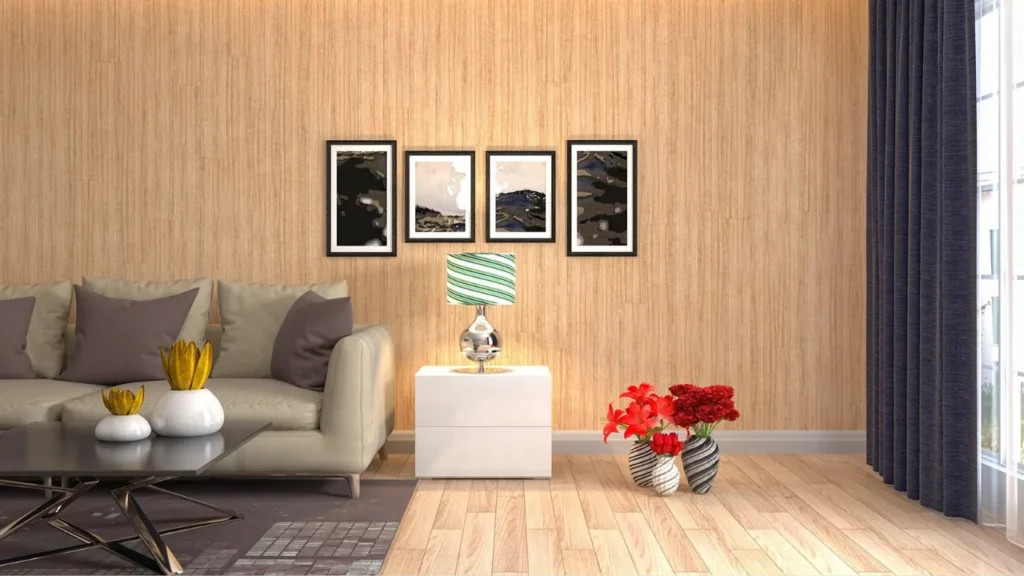
Whether you’re updating a living room wall or designing custom furniture, veneer panels can add elegance, texture, and warmth. They’re a favorite in modern Indian interior design thanks to their natural wood appearance, affordability, and versatility. If you’re planning a DIY or professional installation, this guide walks you through how to install veneer panels for a sleek and contemporary finish.
2. What Are Veneer Panels?
Veneer panels are thin slices of real wood, typically 0.5mm to 1mm thick, applied over MDF, plywood, or particle board. Veneers are available in:
- Natural wood grains like teak, walnut, oak, and ash
- Dyed veneers for modern color finishes
- Flexible veneers for curved surfaces
- Pre-laminated options for easier application
3. Tools and Materials Required
✅ Tools:
- Measuring tape
- Pencil and ruler
- Veneer cutter or sharp utility knife
- Adhesive (Fevicol SH or PU-based adhesive)
- Roller or scraper
- Sandpaper (220–320 grit)
- Clean cloth
- Veneer press (manual or machine)
✅ Materials:
- Selected veneer sheets
- Base panel (plywood, MDF, or HDHMR)
- Edge banding (optional)
- Polish or lacquer (optional)
All these are available at Goel World’s showrooms in Lucknow.
4. Step 1: Surface Preparation
Prepare a clean and even base before applying veneer.
✅ Steps:
- Use plywood, HDHMR, or MDF as the core panel
- Sand the surface lightly to ensure better adhesion
- Remove dust and wipe the surface clean
- Apply a primer coat if needed for better grip
Pro Tip: Avoid applying veneer on moist or cracked surfaces.
5. Step 2: Measuring and Cutting the Veneer
✅ Measure the base panel dimensions accurately
✅ Mark and cut the veneer sheet with a sharp knife or veneer cutter
✅ Leave 2–3 mm extra on all sides for trimming later
✅ For book-matching or grain continuity, align veneer patterns before cutting
6. Step 3: Applying Adhesive Correctly
✅ Apply uniform adhesive coating on both the panel and the veneer back
✅ Wait for 5–10 minutes (or as per glue instructions) until slightly tacky
✅ Use Fevicol SH for MDF/Plywood or PU adhesive for waterproof surfaces
✅ Avoid air bubbles by using a roller during glue application
7. Step 4: Fixing the Veneer Panels in Place
✅ Place the veneer sheet carefully onto the panel
✅ Use a wooden roller or veneer press to ensure strong bonding
✅ Apply pressure from the center to edges to eliminate air pockets
✅ Clamp or press for 3–4 hours minimum for strong adhesion
✅ Once dry, trim the edges using a sharp blade or trimmer
8. Step 5: Finishing and Polishing Touches
✅ Lightly sand the veneer surface with 320-grit sandpaper
✅ Clean dust and apply wood polish or PU lacquer for shine
✅ Match the finish to your room’s theme—matte, satin, or glossy
✅ Use edge banding or wooden beading for a complete look
Optional: Add LED lighting or use veneer on fluted panels for a stunning wall design.
9. Buy Premium Veneer Panels in Lucknow at Goel World
Goel World offers a rich selection of veneers in Lucknow suitable for furniture, wall panels, ceilings, and doors:
✅ Top brands like Greenlam, Century Veneers, Merino, and Virgo
✅ Veneers in natural, dyed, metallic, and designer finishes
✅ Complete range of adhesives, polish, edge bands, and backing panels
✅ Expert advice for installation and matching finishes
🏢 Visit our showrooms:
- Faizabad Road
- Sushant Golf City
10. Conclusion
Installing veneer panels is a simple yet powerful upgrade to your interiors. With proper tools and steps, you can achieve a sleek, modern look that feels high-end and sophisticated. For the best veneer panels and installation materials in Lucknow, trust Goel World’s unmatched range and expert guidance.